Ingredients:
For the Crust:
- 1 3/4 cups Cassava Flour
- 1/2 cup arrowroot starch
- 1 1/2 tsp xanthan gum
- 1 teaspoon salt
- 1/4 cup cold ghee (or butter)
- 1/4 cup coconut oil (I like to split up my fat type, but it’s ok to use one type of fat so 1/2 cup)
- 2 whisked eggs
- 3-5 tbsp of cold water
For the Filling:
- 1 can (15 oz) pumpkin puree
- 3 large eggs
- 1 cup full-fat coconut milk
- 1/2 cup maple syrup
- 1 teaspoon ground cinnamon
- 1/4 teaspoon ground ginger (optional)
- 1 1/2 teaspoon pumpkin pie spice
- 1/2 teaspoon salt
- 1 tsp vanilla
Instructions:
For the Crust:
- In a large bowl, combine the dry ingredients.
- In another bowl whisk the eggs and then pour into bowl with dry ingredients.
- Add chilled, diced butter to the flour mixture. Use a pastry cutter or your fingers to mix until it resembles coarse crumbs.
- Gradually add cold water, one tablespoon at a time, and mix until the dough comes together into a large ball.
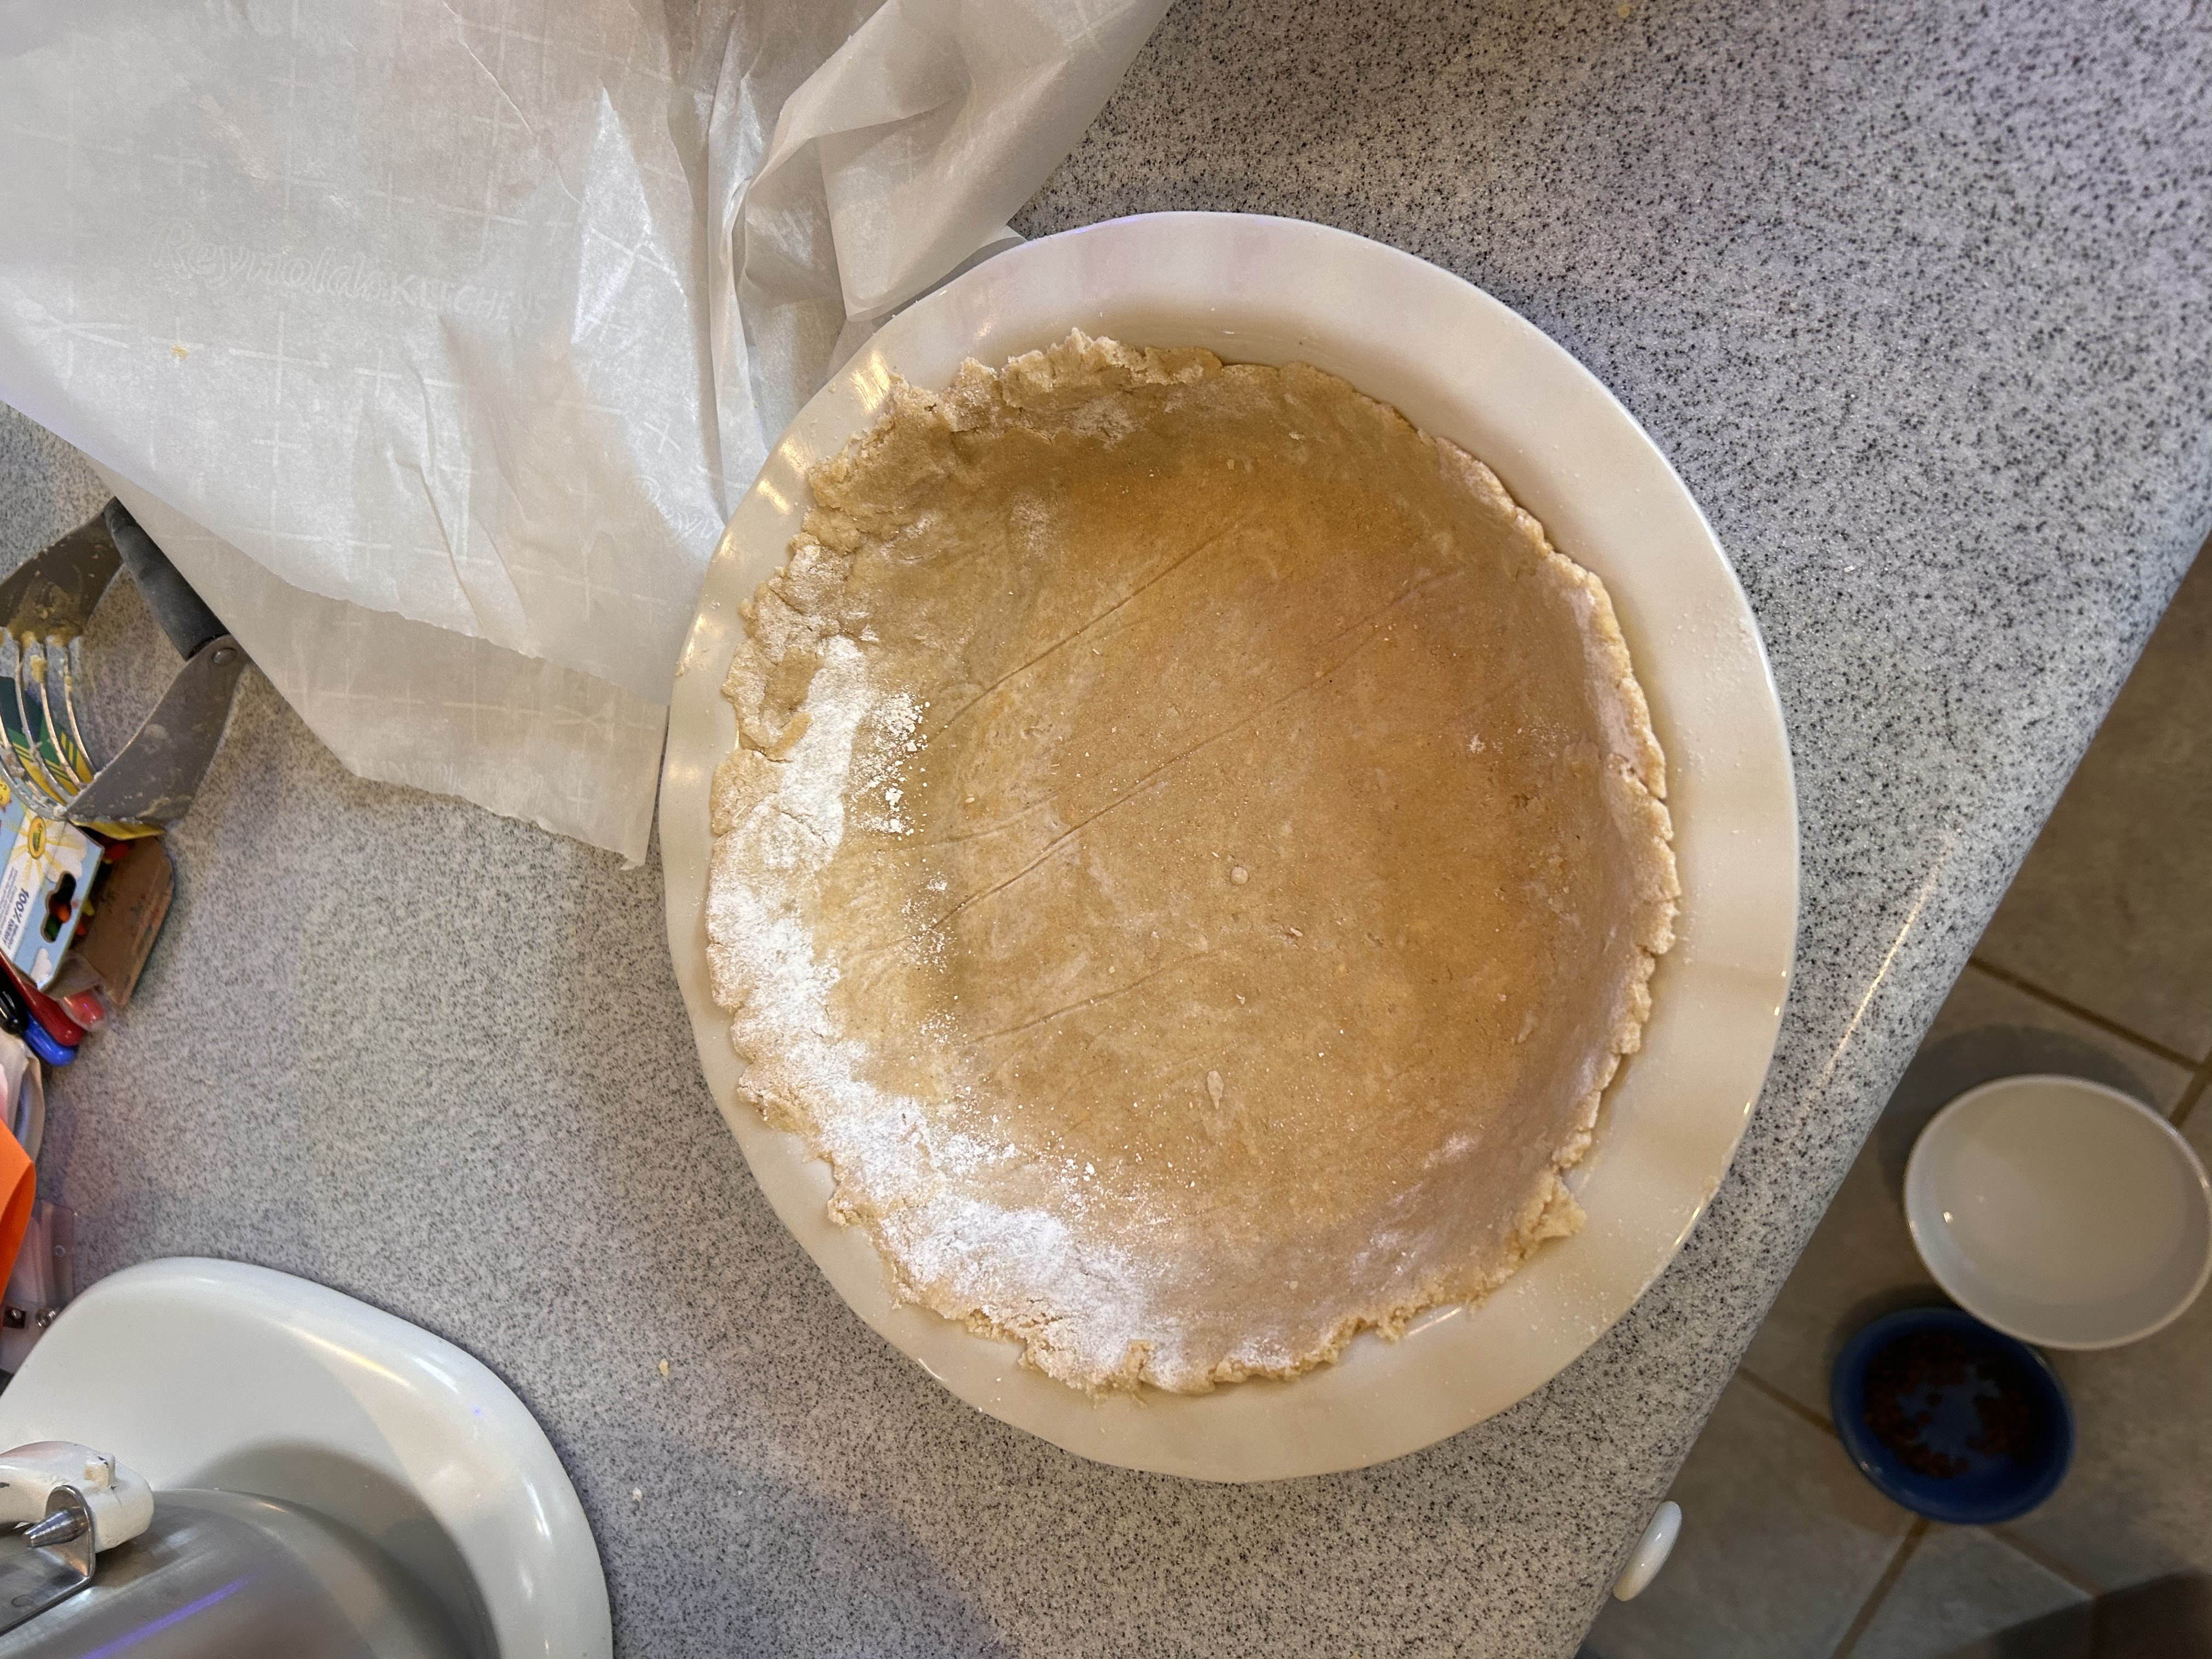
- Shape the dough into a ball, wrap it in plastic wrap, and refrigerate for at least 15 minutes. I usually get two crusts with this recipe.
- Preheat the oven to 420°F
- Roll out the chilled dough on a lightly floured surface to fit your pie dish. If you are clumsy like me and want a beautiful mess-free pie, you can use a silicone pie crust bag/mat pie mat to roll your dough and transfer it seamlessly to the pie dish. You can use my affiliate link here to get the same one I use.
For the Filling:
- In a large bowl, mix together pumpkin puree, eggs, coconut milk, brown sugar, cinnamon, spices, and salt until smooth.
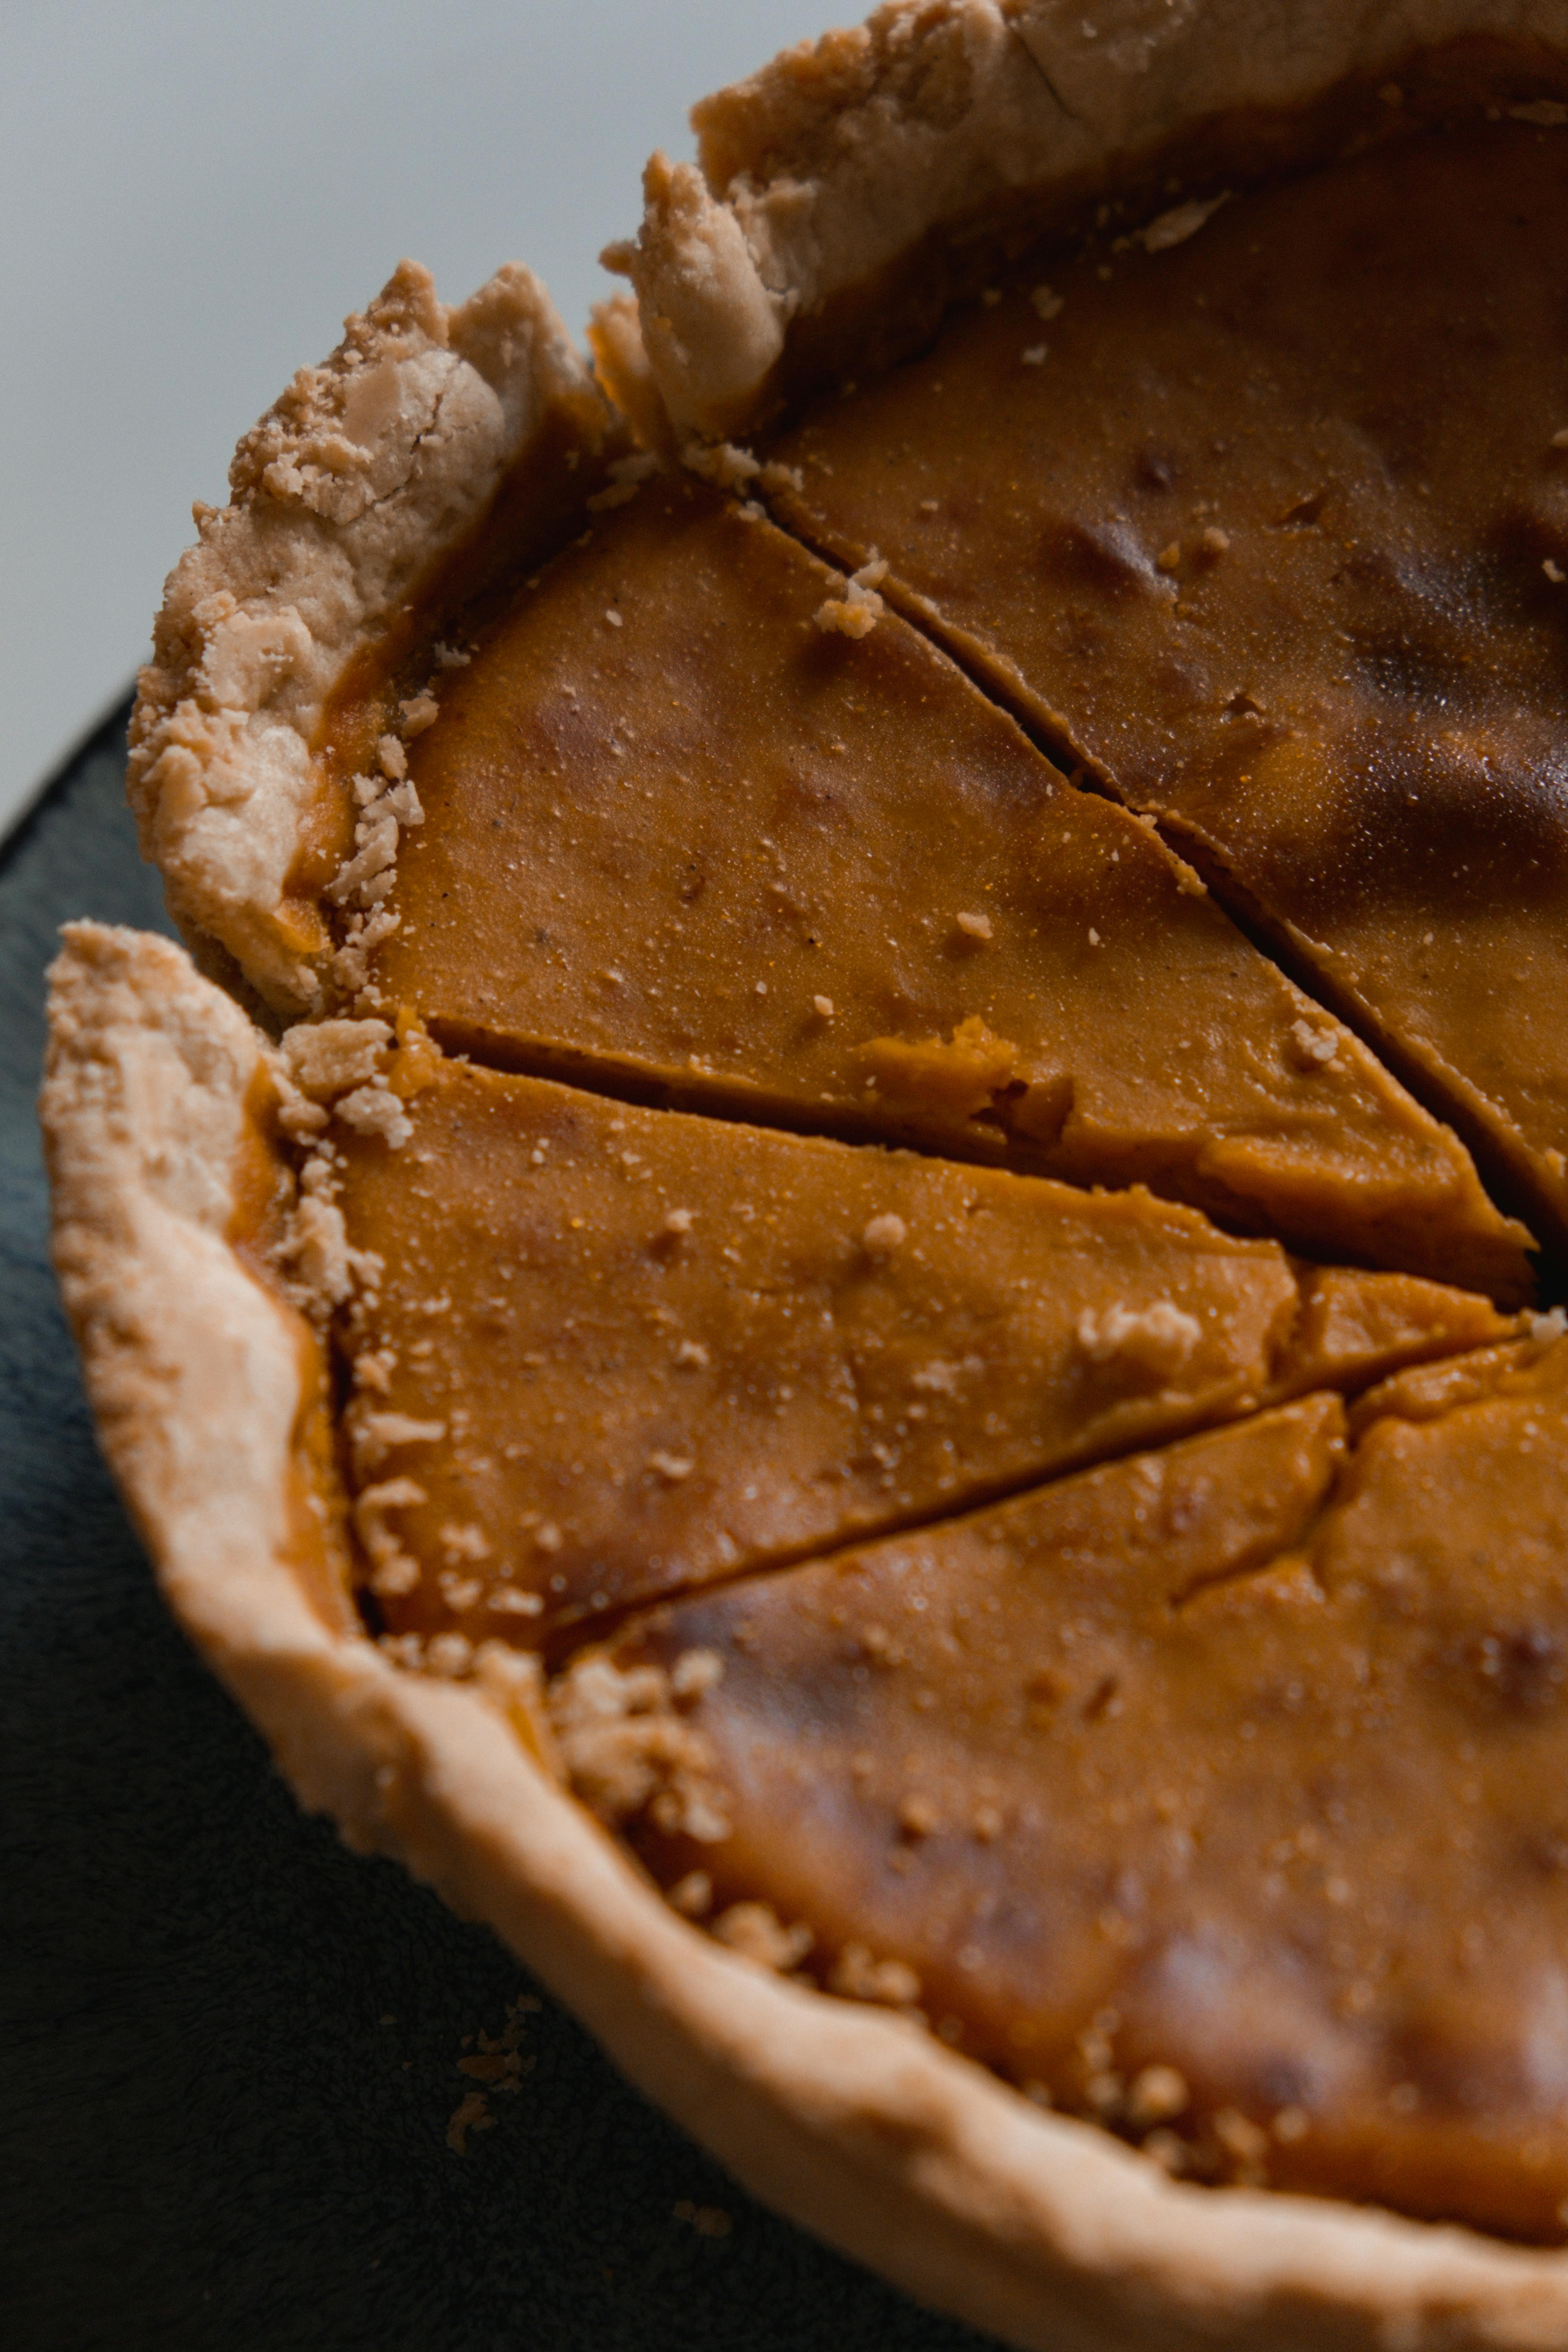
- Pour the pumpkin mixture into the prepared pie crust.
- Bake in the preheated oven for 15 minutes then reduce temperature to 350 °F and backe for 50-60 minutes or until the center is set.
- Allow the pie to cool completely before slicing (1-2 hrs)
Nutrition Facts (Approximate, per serving, assuming 8 servings):
- Serving Size: 1 slice
- Calories: ~380 kcal
- Protein: ~5g
- Fat: ~12g
- Carbohydrates: ~45g
- Fiber: ~3g
- Sugar: ~20g
- Sodium: ~240mg
Why is Cassava Flour Better Than Refined White Flour?
- Gluten-Free:
- Cassava flour is naturally gluten-free, making it suitable for individuals with gluten sensitivity or celiac disease.
- Nutrient Content:
- Cassava flour retains more nutrients compared to refined white flour. Cassava is a good source of fiber, vitamin C, manganese, and folate. In contrast, the refining process for white flour removes most of the bran and germ, resulting in a loss of many essential nutrients.
- Resistant Starch:
- Cassava contains resistant starch, which acts similarly to dietary fiber. Resistant starch has positive effects on digestive health, including promoting the growth of beneficial gut bacteria.
- Low Glycemic Index:
- Cassava flour has a lower glycemic index compared to refined white flour. Foods with a lower glycemic index are absorbed more slowly, leading to a slower and steadier rise in blood sugar levels. This can be beneficial for blood sugar control especially folks with diabetes or insulin resistance.
- Diverse Culinary Uses:
- Cassava flour has a mild flavor and fine texture, making it suitable for various culinary applications. It can be used as a one-to-one substitute for wheat flour in many recipes, including baking and cooking. This versatility allows for the creation of gluten-free alternatives without compromising on taste and texture.
- Potential Health Benefits:
- Cassava consumption is associated with certain health benefits, such as antioxidant properties, anti-inflammatory effects, and potential effects on metabolic health. However, more research is needed to fully understand the extent of these benefits.
- Sustainable Crop:
- Cassava is a hardy and drought-resistant crop that grows well in tropical regions. Its cultivation requires fewer inputs compared to some other grains, making it a sustainable option.